Beginners Guide to Drilling Seaglass
Natalie Nebilak
I have received quite a few messages asking the best way to drill seaglass, so I thought I would make this introductory guide. This is by no means the last word on the subject, and full disclaimer that I am self taught. But these methods have worked quite well for me for the last few years, and I learned from watching others -so it’s time to pay it forward!
Here is a list of mistakes that I have personally made, and heard tale of others making as well. After reading this tutorial I’m hoping you can work past these barriers and start drilling like a pro!
Common Roadblocks
The drill won’t pierce through the glass
The glass shatters while you are drilling it
Can’t keep hands steady enough to make a clean hole
Drilling seaglass, stones, or shells is something that anyone can do with the right equipment. However, it is worth noting that Seaglass is a beast of its own and that is due to its hardness. In the realm of geology there is something called the Mohs Hardness Scale and it is a “qualitative ordinal scale characterizing scratch resistance of various minerals through the ability of harder material to scratch softer material.” i.e. it tells you how hard a mineral is. Glass, or silica, is a pretty hard mineral coming in at around 7 on a scale of 10 (10 being the hardest). Can you guess what number 10 is? It’s diamonds! Which is why when you are drilling or cutting glass, you need to use a diamond tip drill bit. This fixes roadblock #1. If you’re not using a diamond tip drill bit, the drill will not pierce through the glass.
I am not sponsored by any brands in this post. These are just the tools I use and have come to find dependable.
I’ve been using these tips for a few years now. To be honest, they aren’t the best. At least 5 out of every box do not have enough diamond dust on the very tip to pierce through the glass. But, with 30 in the case I figure the price is good enough to just accept the duds. There are different sizes and shapes available for these drill bits. I primarily use 1mm bits in a cylinder shape. They also make cones and ball tips. What you use just depends on what you’re trying to do with your piece of seaglass. For simple wire-wrapping, I suggest sticking with the smaller straight bits.
You’ll notice on the box that it reads “Do NOT Run Dry - Use Water” This takes us to our next roadblock. If you ever tried drilling a piece of glass and it shatters before you finish, it’s because you are “running it dry” When drilling glass, it MUST be submerged in water to keep the piece cool. Too much heat and the glass will crack. A simple solution to this is to grab an old tupperware container and fill it about halfway with water, and viola, no more cracked or broken glass.
I have been using the same tupperware bin since I started, and it shows.
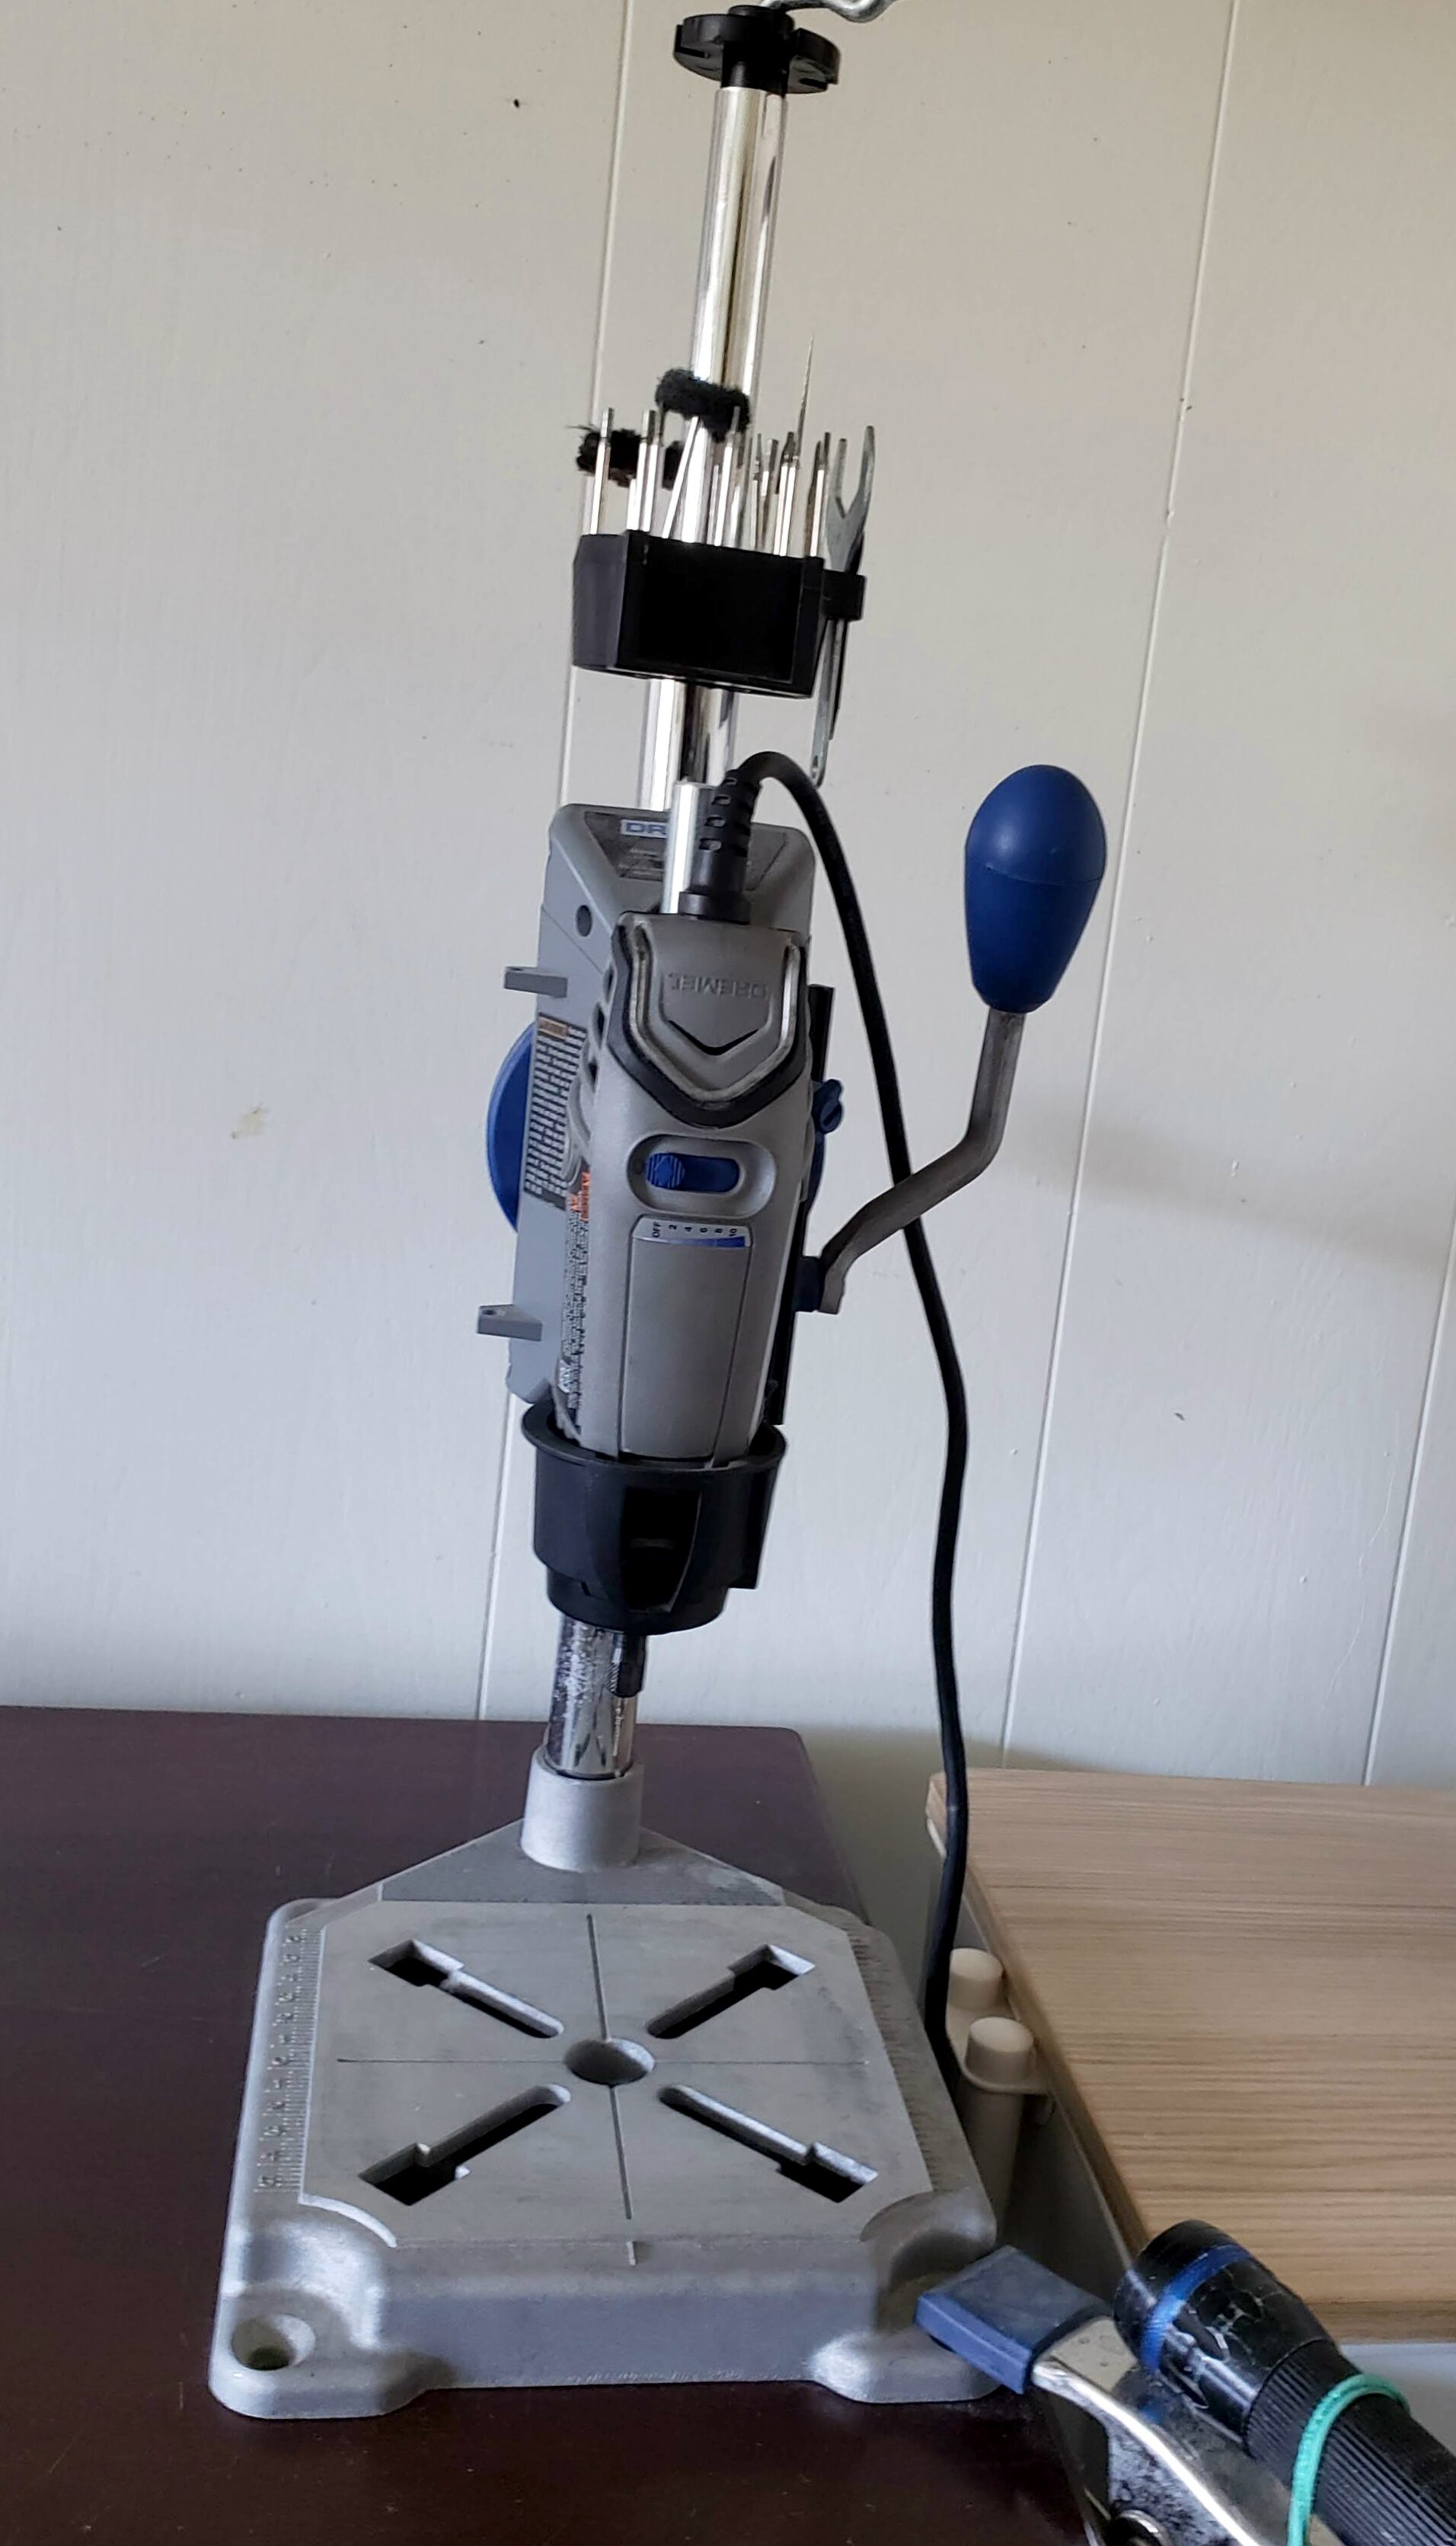
The last roadblock I commonly see is that folks have a hard time keeping their hands and the glass steady enough to make a nice clean hole. While some of you might want to draw designs or etch on the glass, if you’re looking to make clean hole for wire-wrapping then I can’t encourage you enough to buy a rotary drill press. This is a contraption that holds your drill vertically while you use a lever arm to bring the drill straight up and down. No wiggle.
Now that we have talked about a few key techniques, here is a list of items you will need to get started:
Tools
Dremel: this is a hand-held rotary tool. There are several different brands of rotary tools, but I have come to love my Dremel. I have had it for 4 years and never had a problem with it.
Drill Press: this holds the dremel (or drill) vertically so you can make a clean hole.
Diamond Tip Drill Bits: remember, only diamond can cut glass
Water Dish: THIS IS A MUST. You will submerge your glass in water while drilling so it doesn’t overheat and crack.
Wood Block: to be placed in your water dish to use as a platform for your glass
Eye-Protection: safety first
Light Source: this is just helpful, but not necessary
Instructions
Mark glass with pencil -submerging in water changes your view of glass (refraction). Once you’re more comfortable with drilling you can probably skip this step.
Hold with two fingers on either side of glass. Don’t be afraid of the drill bit hitting your fingers. Might scratch a little but it won’t really hurt and there is no way that it will drill a hole in your finger.
Use about 6-7 speed on the Dremel
Go slow and don’t push too hard. Once the dremel hits the glass, drill for about 3-4 seconds then release. This allows the glass to cool and debris from the hole you’re creating to flow out. Then, slowly work through some more glass.
DON’T DRILL ALL THE WAY THROUGH THE GLASS -this will punch out the back of the glass. Instead, when you’re a little more than halfway through, flip it over and start to drill towards the hole you created from the opposite side.
You’re two drill holes will meet up and you’ll have a nice hole in your seaglass!
Don’t worry if you break some glass or drill-bits in the process. It’s all part of learning. Start with some more undesirable pieces so you can practices and learn the technique that works best for you.
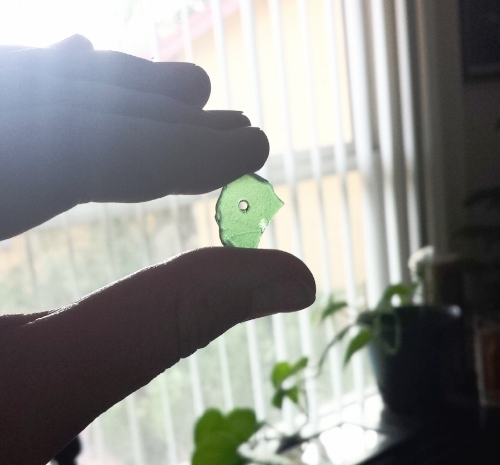
The first piece of seaglass I ever drilled!!
My first piece of handmade seaglass jewelry. Circa 2016
I hope these tips help you on your way, and leave any questions you have in the comment section. Happy Drilling!


